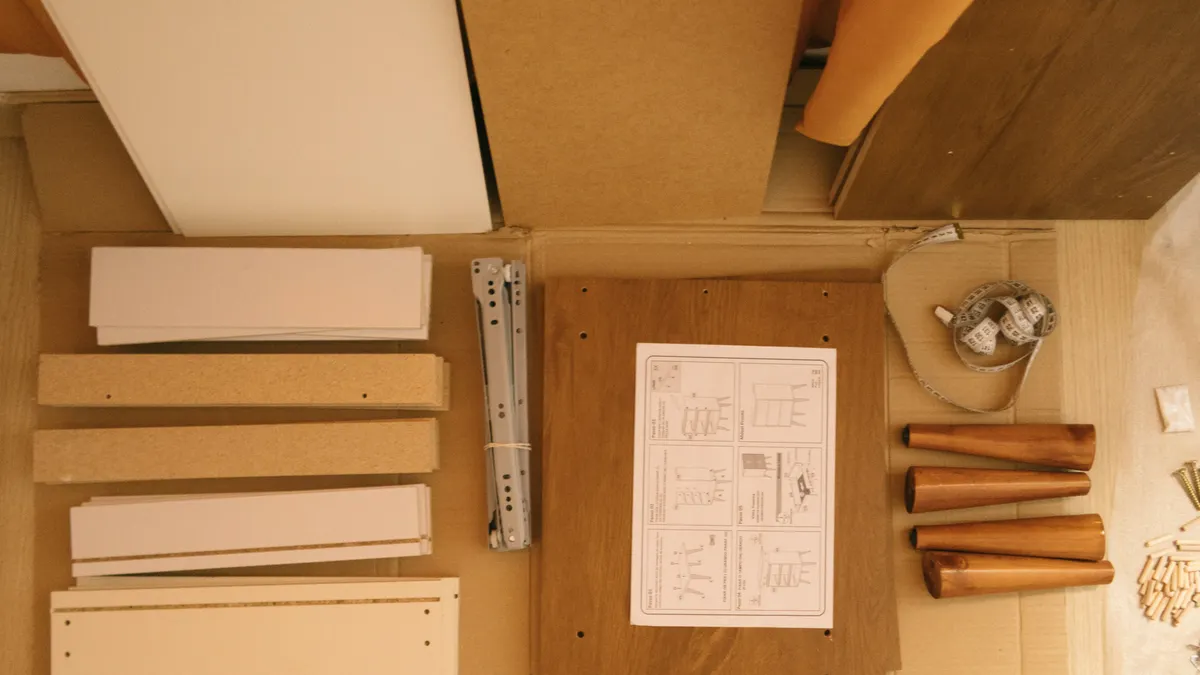
Last updated: November 16, 2026
In short: assemble the jewelry armoire by sorting the parts first, building the main cabinet, attaching the drawer slides, hanging the mirror, then anchoring the piece to the wall with the anti-tip kit. The job is usually straightforward if the instructions manual is followed in order and the hardware is kept separate from the start.
Key takeaways
- Sort every panel, screw, cam, and bracket before turning the first fastener.
- Build the cabinet square first; drawers and the mirror fit better after that.
- Drawer slides are the part most likely to go out of line, so keep them level.
- The anti-tip kit matters because a tall armoire can tip if a drawer is open.
- A simple screwdriver is often enough, but a second person helps with the mirror and back panel.
What should be ready before you start?
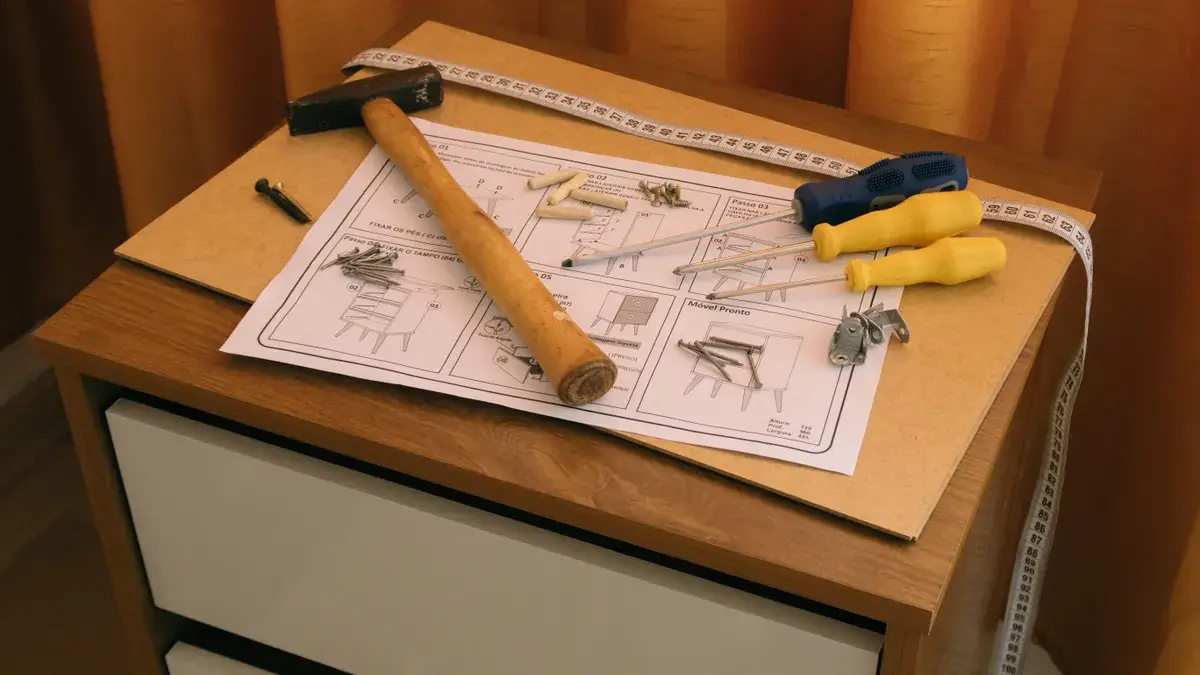
The main thing is to confirm the parts and tools before any assembly begins. That means checking the instructions manual, matching each panel to the parts list, and setting out the screwdriver, drawer slides, mirror hardware, and anti-tip kit on a clear floor. If the box came with numbered stickers, leave them on until the end.
A small mistake here costs time later. A missing cam bolt or the wrong side panel can force a full disassembly once the frame is partly built. A clean, bright space about the size of a small rug is enough for most armoires, and it helps to keep screws in labeled cups or small bags.
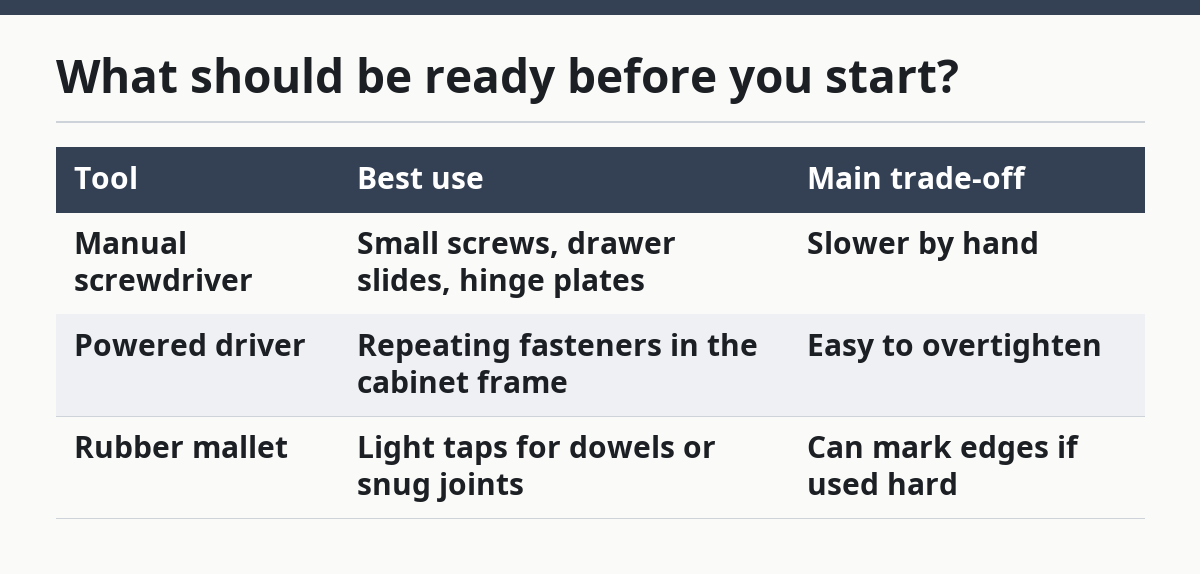
This is also the point to decide whether a manual screwdriver or a powered driver makes more sense. A manual screwdriver gives more control on soft panels and keeps you from stripping fasteners. A powered driver is faster, but it can crush particleboard if set too high.
| Tool | Best use | Main trade-off |
|---|---|---|
| Manual screwdriver | Small screws, drawer slides, hinge plates | Slower by hand |
| Powered driver | Repeating fasteners in the cabinet frame | Easy to overtighten |
| Rubber mallet | Light taps for dowels or snug joints | Can mark edges if used hard |
How do you build the cabinet frame?
The cabinet frame goes together first, because everything else depends on it being square. Start with the side panels, top, bottom, and any internal supports, then tighten each connector only after the corners are seated. If the unit uses cam locks, turn them until they stop, not past that point.
- Use the screwdriver to sort the hardware by type. Put cam bolts, wood screws, dowels, and brackets in separate piles so the wrong fastener does not go into the wrong hole.
- Use the instructions manual to identify the base and side panels. Match the stickers or printed marks before joining anything, because one reversed panel can throw off the whole cabinet.
- Use the screwdriver to install the dowels and cam bolts. Push them in fully, but do not force them; the holes should accept them with steady hand pressure.
- Use the screwdriver to join the side panels to the top and bottom. Bring the frame together slowly so the seams meet flush.
- Use the screwdriver to tighten the cam locks and corner screws. Stop when the joints are snug and the frame no longer shifts side to side.
- Use the instructions manual to add the back panel if it is part of the structure. A back panel often helps the cabinet stay square, so align it before final tightening.
A square frame is the result to look for. The doors, drawers, and mirror will not line up well if the body twists at this stage. If the cabinet rocks on the floor, check for a panel that is flipped or a connector that is not fully seated.
This is the stage where many generic guides skip the real problem: an armoire can look assembled while still being out of square by a small amount. That small amount shows up later as drawers that scrape or a mirror that sits crooked. A few extra minutes on the frame saves much more time later.
How do you attach the drawer slides?
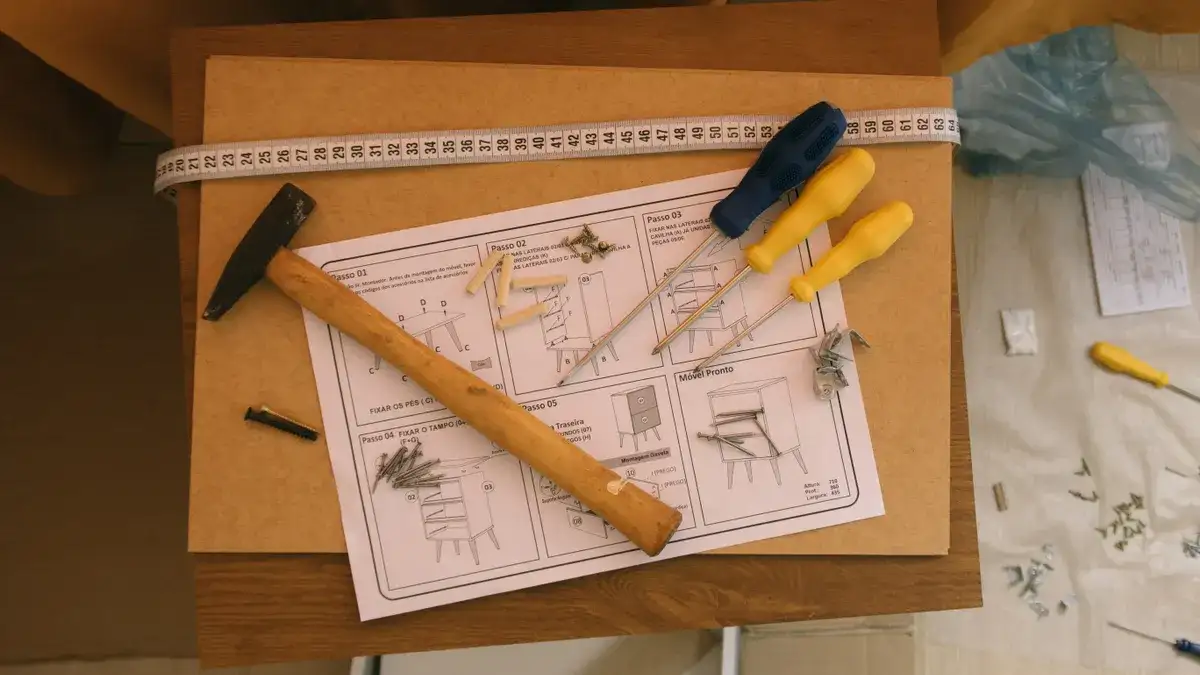
The drawer slides go on before the drawers are inserted, and they need to be level on both sides. The left and right slides must sit at the same height or the drawer will bind. This is one of the few steps that punishes guessing.
Use the instructions manual to find the slide positions, then attach each slide with the screwdriver or the small fasteners supplied in the box. Keep the slides parallel to the cabinet base, and do not leave one side slightly higher than the other. If the slide has a front and back end, place it exactly as marked.
A common mistake here is mixing up the slide pairs. That mistake costs smooth movement, and it can also scratch the cabinet when the drawer catches. Another problem is overdriving the screws into soft panel material, which loosens the slide instead of tightening it.
After both slides are on, test the movement by placing one drawer in place without forcing it. It should run straight in and out with no tilt. If it catches at the front, the slide is usually off by a few millimeters, not by a large amount.
How do you install the mirror without cracking it?
The mirror installs best when the cabinet is fully upright and the frame is already stable. This keeps the glass from twisting while you line up the brackets or mounting points. Many armoires use a simple bracket system, so the mirror should settle into place without hard pressure.
Use the screwdriver to fasten the mirror brackets in the order shown in the manual, and tighten each screw evenly. Do not clamp one corner all the way down before the others, because uneven pressure can pull the mirror out of line. If the unit includes a felt pad or spacer, place it exactly where shown.
The main risk is forcing the mirror into a frame that is not square. That can leave one edge lifted or place stress on the glass. The safe approach is to loosen, realign, and retighten rather than push harder.
If the model includes a protected backer behind the glass, install that layer before the final screws. A snug fit is the goal, not a hard squeeze. The mirror should sit flat and should not rattle when the cabinet is tapped lightly.
How do you finish the drawers and hardware?
The drawers finish fastest when each one is assembled and tested before the next begins. Attach the drawer sides, front, and base as the manual shows, then slide each drawer into its tracks. This is where a small alignment error becomes obvious, so it pays to check one drawer at a time.
Use the screwdriver to secure the drawer box, then place the drawer onto the slides and push it in gently. If the drawer stops halfway, do not force it. Pull it out, check the slide height, and look for a screw head sticking into the track.
This step often exposes a hidden problem in the box. A bent slide or a misdrilled drawer side can make the whole unit feel unreliable even when the cabinet is fine. That is the difference between a cosmetic issue and a structural one: one can be fixed with alignment, the other may need replacement hardware.
Once the drawers move cleanly, attach any knobs or pulls that came in the kit. Tighten them enough to stay put, but do not crush the front panel. The goal is even movement and a clean face, not extra torque.
How do you anchor a jewelry armoire to the wall?
The anti-tip kit should be installed after the armoire is fully assembled and placed where it will stay. This is the step that keeps a tall, loaded piece from tipping if a drawer opens at the wrong time. A wall anchor is especially important when the armoire is front-heavy or the drawers carry weight.
Use the anti-tip kit to attach the strap or bracket to the back of the armoire first, then fasten the other end to the wall as the kit directs. The exact hardware depends on the wall type, so the instructions manual matters here too. Do not skip the wall connection just because the unit feels stable on its own.
A wobbly armoire is usually caused by an uneven floor, loose hardware, or a back panel that is not seated fully. Small shims can help with floor unevenness, but the anti-tip kit is the real fix for tip risk. If the piece still rocks after the hardware is tight, check the feet and the rear corners before loading the drawers.
For broader setup tips, the jewelry armoire guide on this site covers the larger ownership questions this page does not.
The U.S. Consumer Product Safety Commission has a tip-over prevention page worth reading before anchoring any tall furniture: CPSC Tip-Over Prevention. The guidance from that kind of source is simple: stable furniture is not optional when drawers and upper storage are involved.
What common mistakes cause trouble?
The biggest mistakes are skipping the parts check, mixing up the drawer slides, and tightening the frame in the wrong order. Each one creates a different cost: missing hardware slows the build, slide errors make the drawers stick, and an out-of-square frame makes the mirror and doors fight the cabinet.
A second mistake is using too much force with the screwdriver. Soft boards can strip quickly, which leaves screws that never hold well again. If a fastener will not seat with normal pressure, stop and check the hole, the direction, and the part label.
The last mistake is leaving out the anti-tip kit. That saves a few minutes but leaves the armoire more vulnerable once the drawers are loaded. For a piece that stands upright and holds weight high off the floor, that trade-off is poor.
The National Safety Council and the CPSC both publish furniture tip-over guidance, and both point toward the same practical habit: anchor tall furniture once it is in place. That advice is not about style. It is about keeping the finished cabinet where it belongs.
How long does jewelry armoire assembly take?
It usually takes as long as the instructions manual and the hardware layout require, with more time needed if the frame, mirror, and anti-tip kit all need careful alignment. A simple build can move quickly, but the safest pace is the one that leaves the drawers square and the cabinet steady. Rushing often creates more work than it saves.
What tools do I need to assemble a jewelry armoire?
A screwdriver is the main tool, and the instructions manual is the most useful guide. Some kits also need a powered driver on a low setting, plus a small mallet for light taps and the anti-tip kit for wall anchoring. The exact hardware list depends on the model, so the box contents should be checked first.
How do I fix a wobbly jewelry armoire?
A wobbly jewelry armoire usually needs tighter fasteners, a flatter base, or a better wall anchor. Check the frame screws, make sure the feet sit evenly, and confirm that the anti-tip kit is attached to the wall. If the wobble starts after drawer installation, the slide alignment may also need a reset.
Drafted with AI; not yet reviewed by a person.
Leave a Reply