An old dresser becomes a workable jewelry armoire by adding a lined, divided top drawer (ring slots, necklace hooks, and a bracelet rod sized to the drawer), a fresh coat of paint or stain, and optionally a simple add-on lock. The conversion uses basic hand tools and standard hardware-store materials — no cabinetmaking experience required, just patience with the sanding and lining steps.
- Pick a dresser with at least one drawer shallow enough for ring and earring compartments and one deeper drawer for necklaces and bracelets.
- Clean, sand, and refinish the piece before building the interior — it’s far easier to line empty drawers than finished ones.
- Build ring slots, necklace hooks, and a bracelet rod from foam board, screw-in hooks, and a dowel — no specialized jewelry-storage hardware needed.
- Line every surface that touches jewelry with velvet, felt, or microsuede to reduce scratching.
- An add-on cabinet lock is a reasonable privacy upgrade — treat it as a deterrent, not real security, for anything highly valuable.
What makes a dresser a good conversion candidate?
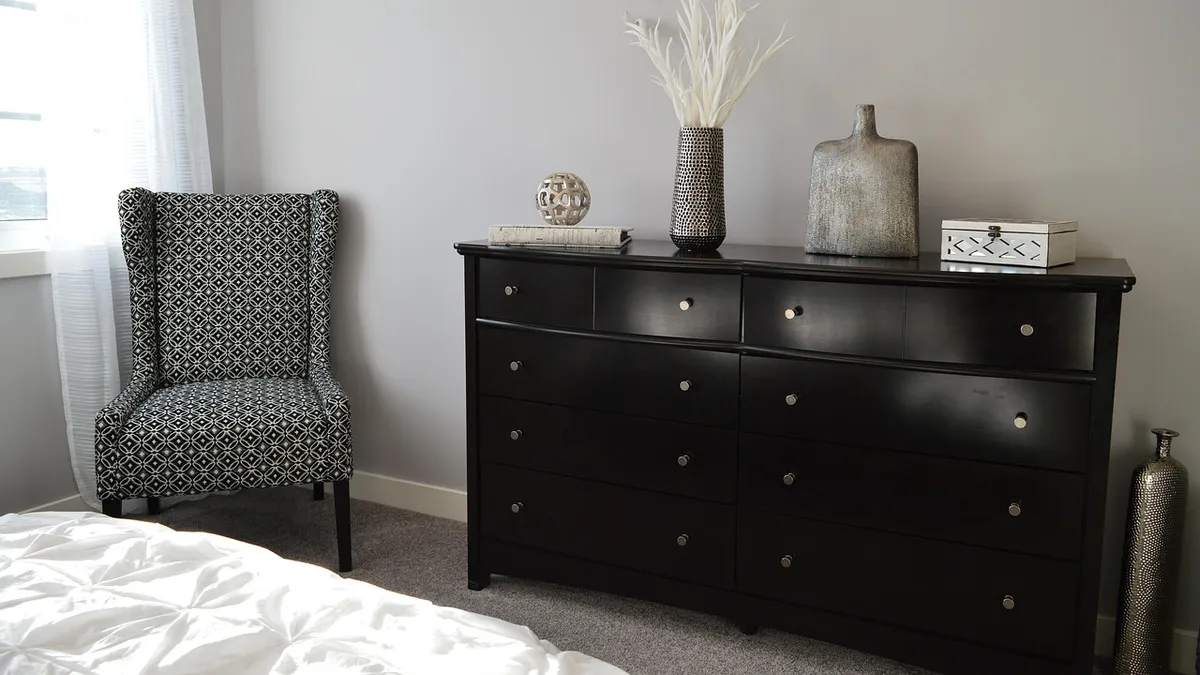
Look for a dresser that’s structurally sound — drawers that slide smoothly, no major water damage or broken joints — since refinishing can fix cosmetic problems but not a warped frame. Beyond that, a few practical features matter more than style:
- At least one shallow drawer (2-3 inches deep) for ring and earring compartments, since a deep drawer wastes space on small items.
- At least one medium-depth drawer for necklaces and bracelets, which need more vertical room than rings.
- Solid wood or plywood drawer boxes hold screws for hooks and dividers better than particleboard, which can strip out.
- A mirror on the dresser or an unused wall nearby is a bonus if you want a vanity-style setup, but it isn’t required.
What tools and materials do you need?
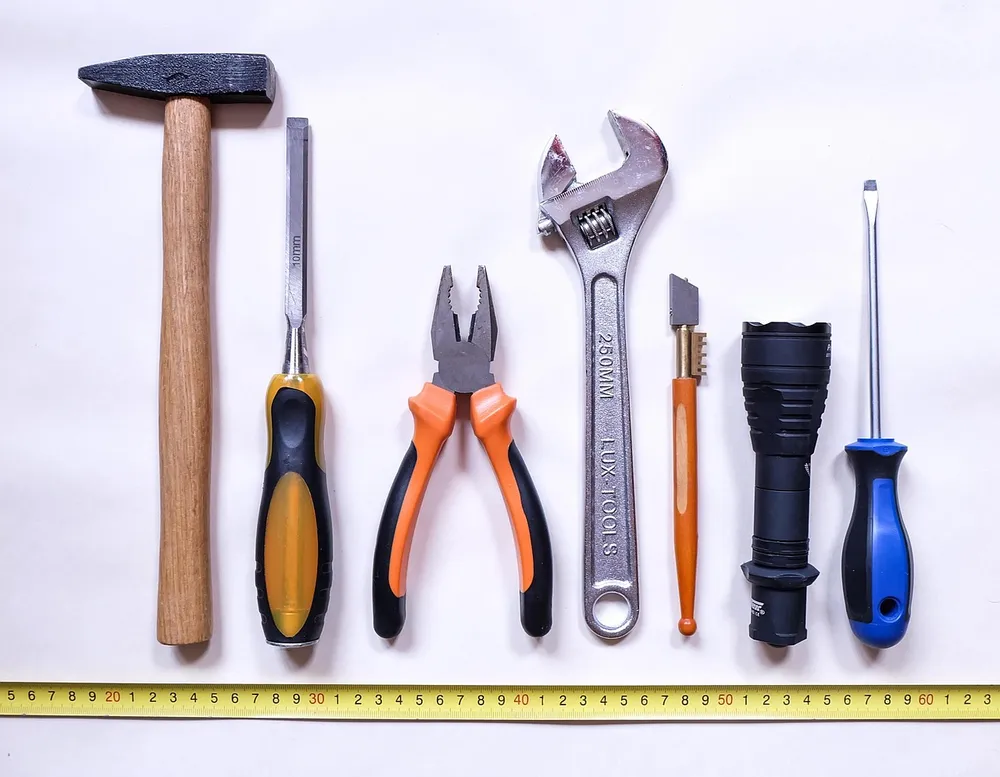
This is a basic woodworking and sewing-adjacent project. Most of these items are common household tools or inexpensive hardware-store purchases:
| Category | Items | Used for |
|---|---|---|
| Refinishing | Sandpaper (medium and fine grit), tack cloth, paint or wood stain, paintbrush or foam roller, painter’s tape | Cleaning up and refreshing the exterior |
| Hardware | Screwdriver, small screws, a dowel or thin curtain rod, 2 small brackets, screw-in cup hooks | Mounting the bracelet rod and necklace hooks |
| Compartment building | Foam board or thin plywood, a utility knife or hand saw, wood glue or a hot glue gun, small brads | Building ring-slot and divider inserts |
| Lining | Velvet, felt, or microsuede fabric, fabric scissors, spray adhesive or a staple gun | Covering dividers and drawer interiors |
| Optional lock | A surface-mount cam lock kit, drill with a bit matched to the lock’s barrel diameter | Adding basic privacy to one drawer or the cabinet doors |
How do you refinish the dresser before building the interior?
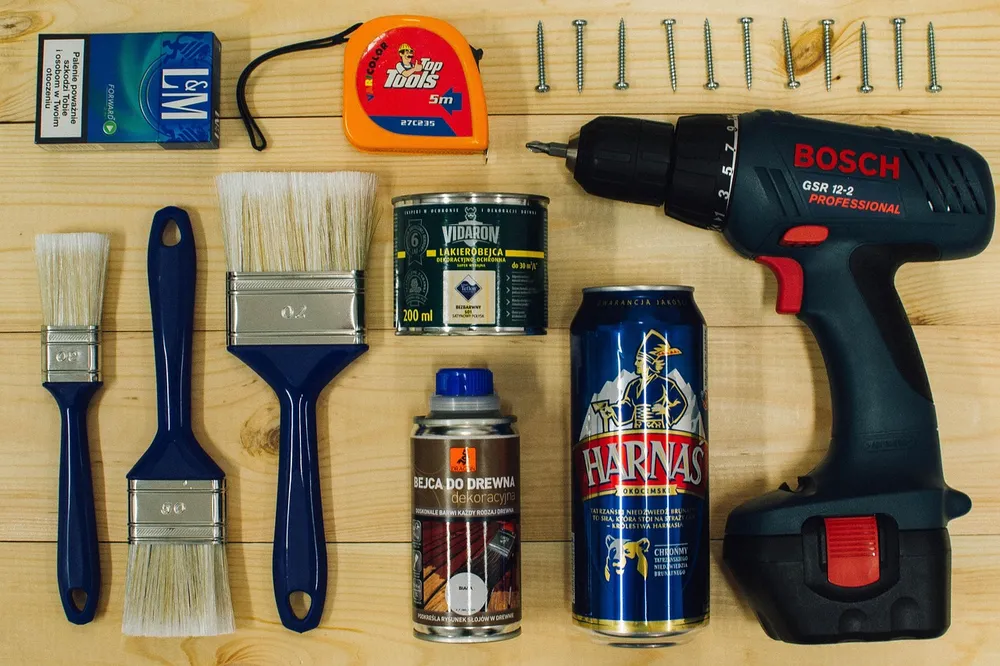
Do the exterior work first, while the drawers are still empty and easy to maneuver:
- Remove all drawers and hardware (knobs, pulls) and set screws aside in a labeled container.
- Clean every surface to remove dust, grease, and old polish.
- Sand with medium-grit paper to remove the old finish, then fine-grit to smooth it, wiping away dust with a tack cloth between passes.
- Apply primer if you’re painting over a dark or glossy original finish, then paint or stain in thin, even coats, letting each coat dry fully.
- Reattach the original hardware, or swap in new knobs or pulls if you want a different look.
Work in a ventilated space and follow the paint or stain manufacturer’s safety instructions on their product label, especially around ventilation and drying time.
How do you build the compartment dividers?
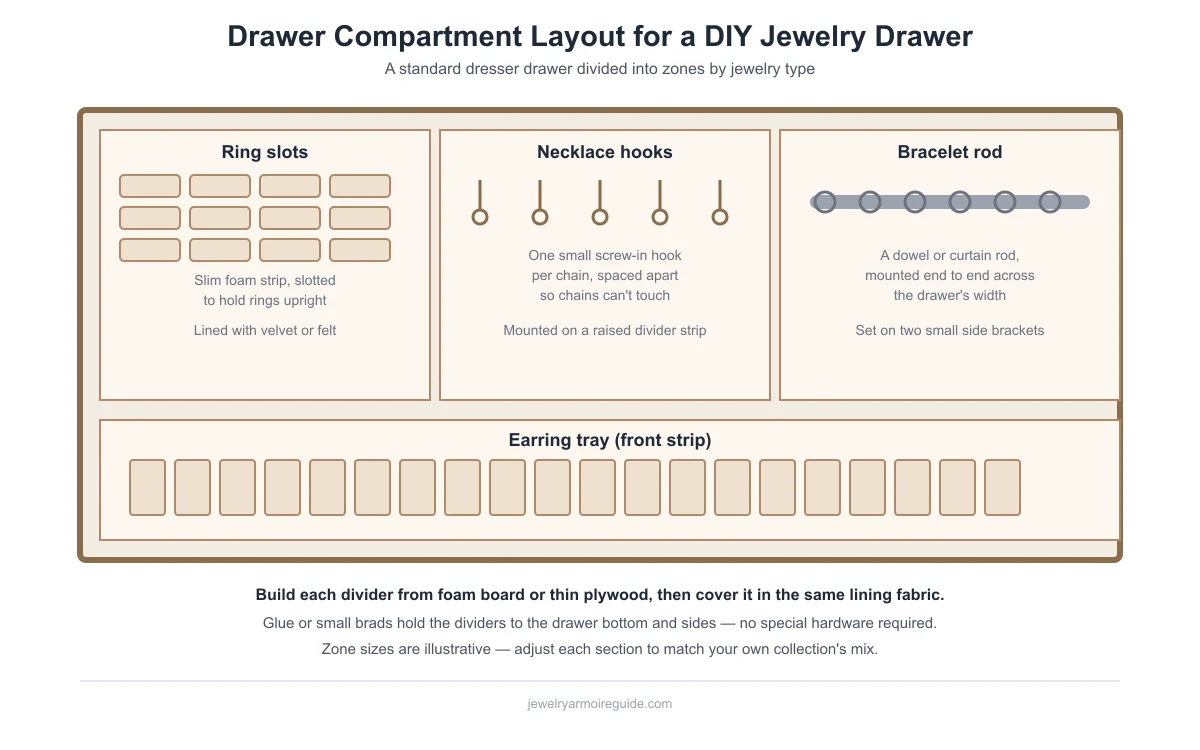
Once the exterior is finished, turn your attention to the shallow drawer for rings and earrings, and the medium drawer for necklaces and bracelets. A standard dresser drawer gives you enough width to divide into zones:
- Ring slots: Cut foam board into narrow strips about 1 inch tall, notch or slot them at intervals, and glue them into rows inside the shallow drawer. Cover each strip in your lining fabric before or after gluing it in place.
- Necklace hooks: Screw small cup hooks into a raised wooden strip (a thin piece of scrap wood glued or screwed along the back or side of the drawer works well), spacing each hook a few inches apart so chains hang separately and don’t touch.
- Bracelet rod: Mount two small brackets near the top of a deeper drawer or compartment and rest a dowel or thin curtain rod across them, so bracelets slide on and off without tangling with anything else.
- Earring tray: A shallow front strip of foam board with small slits or holes holds pairs upright and visible.
If you want hook spacing and chain-separation details beyond what fits here, the guide to organizing by jewelry type covers the same compartment types in more depth, and applies just as well to a converted dresser as to a store-bought armoire.
How do you line the compartments?
Lining does two jobs: it softens hard surfaces that would otherwise scratch jewelry, and it gives the inside a finished look. Cut your chosen fabric (velvet, felt, or microsuede all work) slightly larger than each surface, then attach it with spray adhesive for flat surfaces or a staple gun on the underside of dividers where the staples won’t be visible. Wrap corners like you would wrap a gift box, trimming excess fabric rather than bunching it.
A soft lining reduces scratching from bare wood or foam-board edges, but it is not the same thing as tarnish prevention — plain velvet or microsuede has no chemical anti-tarnish action unless it’s specifically treated. If you want your drawers to actually slow tarnish on silver pieces, not just cushion them, see the guide to anti-tarnish lining materials for which fabrics do that and which are décor-only.

Should you add a lock?
A simple surface-mount cam lock kit can be added to a drawer front or a pair of cabinet doors with a drill and basic hardware. It’s a reasonable, inexpensive privacy upgrade that keeps the drawer closed to casual view. Treat it the same way you’d treat any armoire lock, store-bought or DIY: it’s a deterrent, not a security device. The guide to jewelry armoire lock security explains exactly what a cabinet lock does and doesn’t resist, and why your highest-value pieces belong in a real safe instead.
How big a collection can a converted dresser realistically hold?
That depends entirely on the dresser you start with and how many drawers you convert. If you’re not sure whether one converted drawer will be enough, or whether you should convert two drawers instead of one, count your current collection first. The sizing guide for large collections walks through counting rings, necklaces, earring pairs, and bracelets against real examples, which works just as well for planning a DIY build as it does for buying a finished armoire.
Frequently asked questions
Can I use a dresser with particleboard drawers?
You can, but screws for hooks and brackets hold less securely in particleboard than in solid wood or plywood. Use wood glue along with screws where possible, or choose hooks and brackets that mount with adhesive pads instead of screws if the particleboard feels soft or crumbly.
Do I need to line every drawer, or just the jewelry drawers?
Just the drawers you’re converting for jewelry. Leave other drawers as-is for regular storage, or convert additional drawers later if your collection grows.
What if my dresser doesn’t have a shallow drawer for rings?
Build a raised foam-board tray insert inside a deeper drawer instead, leaving the space underneath it open for bracelets or larger pieces. This uses the drawer’s full depth without losing the benefit of a dedicated ring section.
Is paint or stain better for a conversion project?
Both work — it’s a style choice, not a durability requirement for this project. Stain preserves the wood grain, while paint covers up mismatched wood tones or repairs more completely. Either way, sand and prime appropriately for the finish you choose.
Can I skip refinishing and just build the interior?
Yes, if the dresser’s exterior is already in good condition. Refinishing is about appearance, not function — the compartment dividers work the same either way.
Sources
- Jewelers Mutual, “How to store jewelry” (safe vs. furniture storage context) — read November 2026
- Conservation Support Systems, Pacific Silvercloth product page (anti-tarnish lining mechanism, referenced for the lining section) — read November 2026
jewelryarmoireguide.com Editorial Team. Last updated: November 13, 2026.
Leave a Reply